Symbaloo (www.symbaloo.com) is a great web tool that you can use to save and share information. You can use it to create a page or “webmix” where you can arrange visual bookmarks or “tiles” in a way that makes sense to you and to your class. When you are done creating a webmix, you can then share it so that students in your class and in other classes can have access to your links. You can create and have tabbed webmixes so that you can switch between themes and topics quickly.
It is tough to explain until you actually see a webmix, so we will just jump into the action!

This is a Symbaloo that I created for a lower grade class that is working on fossils and geology. There is a search box in the middle that cannot be modified, but the rest of the page has a grid that I can use to fill in with links that I have found and curated myself so that I know that they meet the needs of the class. I can place the tiles anywhere I want so that my content is grouped the way that I want it. In this case, in the upper left corner are sites that deal with volcanoes, upper right has info about types of rocks, lower left has some interactive activites about rocks and minerals, and the lower right has some activities related to fossils.
These are very helpful and fairly easy to create. You will need to create an education account at symbaloo.com. They will give you a few default webmixes that you can use (or delete) To add a new webmix, you can click on the + tab and you get an option to create your own or to search existing webmixes that have been created by other users.
To create a new one- Simply click the create button, give it a name, and a blank Symbaloo page will pop up. You can click into any of the blank tiles to get the option to add a new tile. Again like the webmix itself, you can search for existing tiles or add your own.
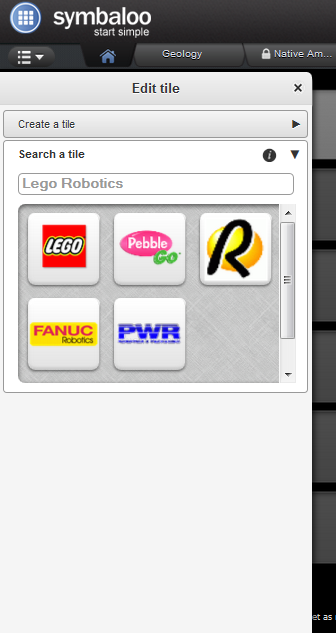

When that is complete, I can simply click and drag the tile where I want it to be located, then repeat the process. It can take some time to add all of the tiles that you want, but when your symbaloo is complete, you can then share it with your class (and the world!)
Click on the share button at the top of the page and you will get some options on how to share your mix. You will fill out the form that pops up and click share. You will want to give it a good name that is very descriptive so that it is easily found. It will also give you a link that you can write down (or use mbcurl.me to shorten) and email or simply write on the board for students to access. Students do not have to have a Symbaloo account to see webmixes, only to create and share. Don’t let students work under your account, they could modify your Symbaloo by moving or deleting tiles and undoing your hard work. Have them use the link that you get from sharing to access the mix, this way they cannot make any changes to it.
Once you create a webmix, it stays in your account until you delete it.
You can also search for webmixes that have already been created by other users. If you check them out and like the content, you can give students the link to use that mix. I have experimented with the site and rarely find a whole mix that works for my needs, but I have used them as a jumping off point to find good tiles that I may want for my mix.
This is just meant to be a basic overview of Symbaloo and how it can help you in your class.
We have used it fairly often and have a pretty good understanding of the site. If you would like to learn more about Symbaloo, please email any of the elearning coaches and we would be glad to come and sit down with you and get you going with this great tool!
Happy Mixing!!
No comments:
Post a Comment